
The News Builder is a great tool to digitise the most important articles you'd like your App users to see. This article will help you with its most important features and intricacies.
 Once logged in to the Portal, you'll be able to begin creating and sharing your articles using the News Builder. These articles can be made available to whichever roles (users/audiences) within your college community that you'd like to see it. For example, you could have an article regarding boarding only for boarding students, or a college wide safeguarding concern only available to the staff members.
Where do they go?
You'll be able to review published articles in the David Game College News tile of the main menu carousel - the first thing you see when you first open your App. They'll be in the category labelled Safeguarding News. Here, any articles able to be viewed by your role will be displayed.
So let's get started! If you'd like to create an article, read on! Otherwise:
Click here 👉🏻 for editing an existing article
Click here 👉🏻 for adding clickable links
REMEMBER: Only Admin Account holders can create a News Builder Article for use in the App. If you'd like an article shared, find one of your college Admin Account Holders and discuss with them!
Create a New Article
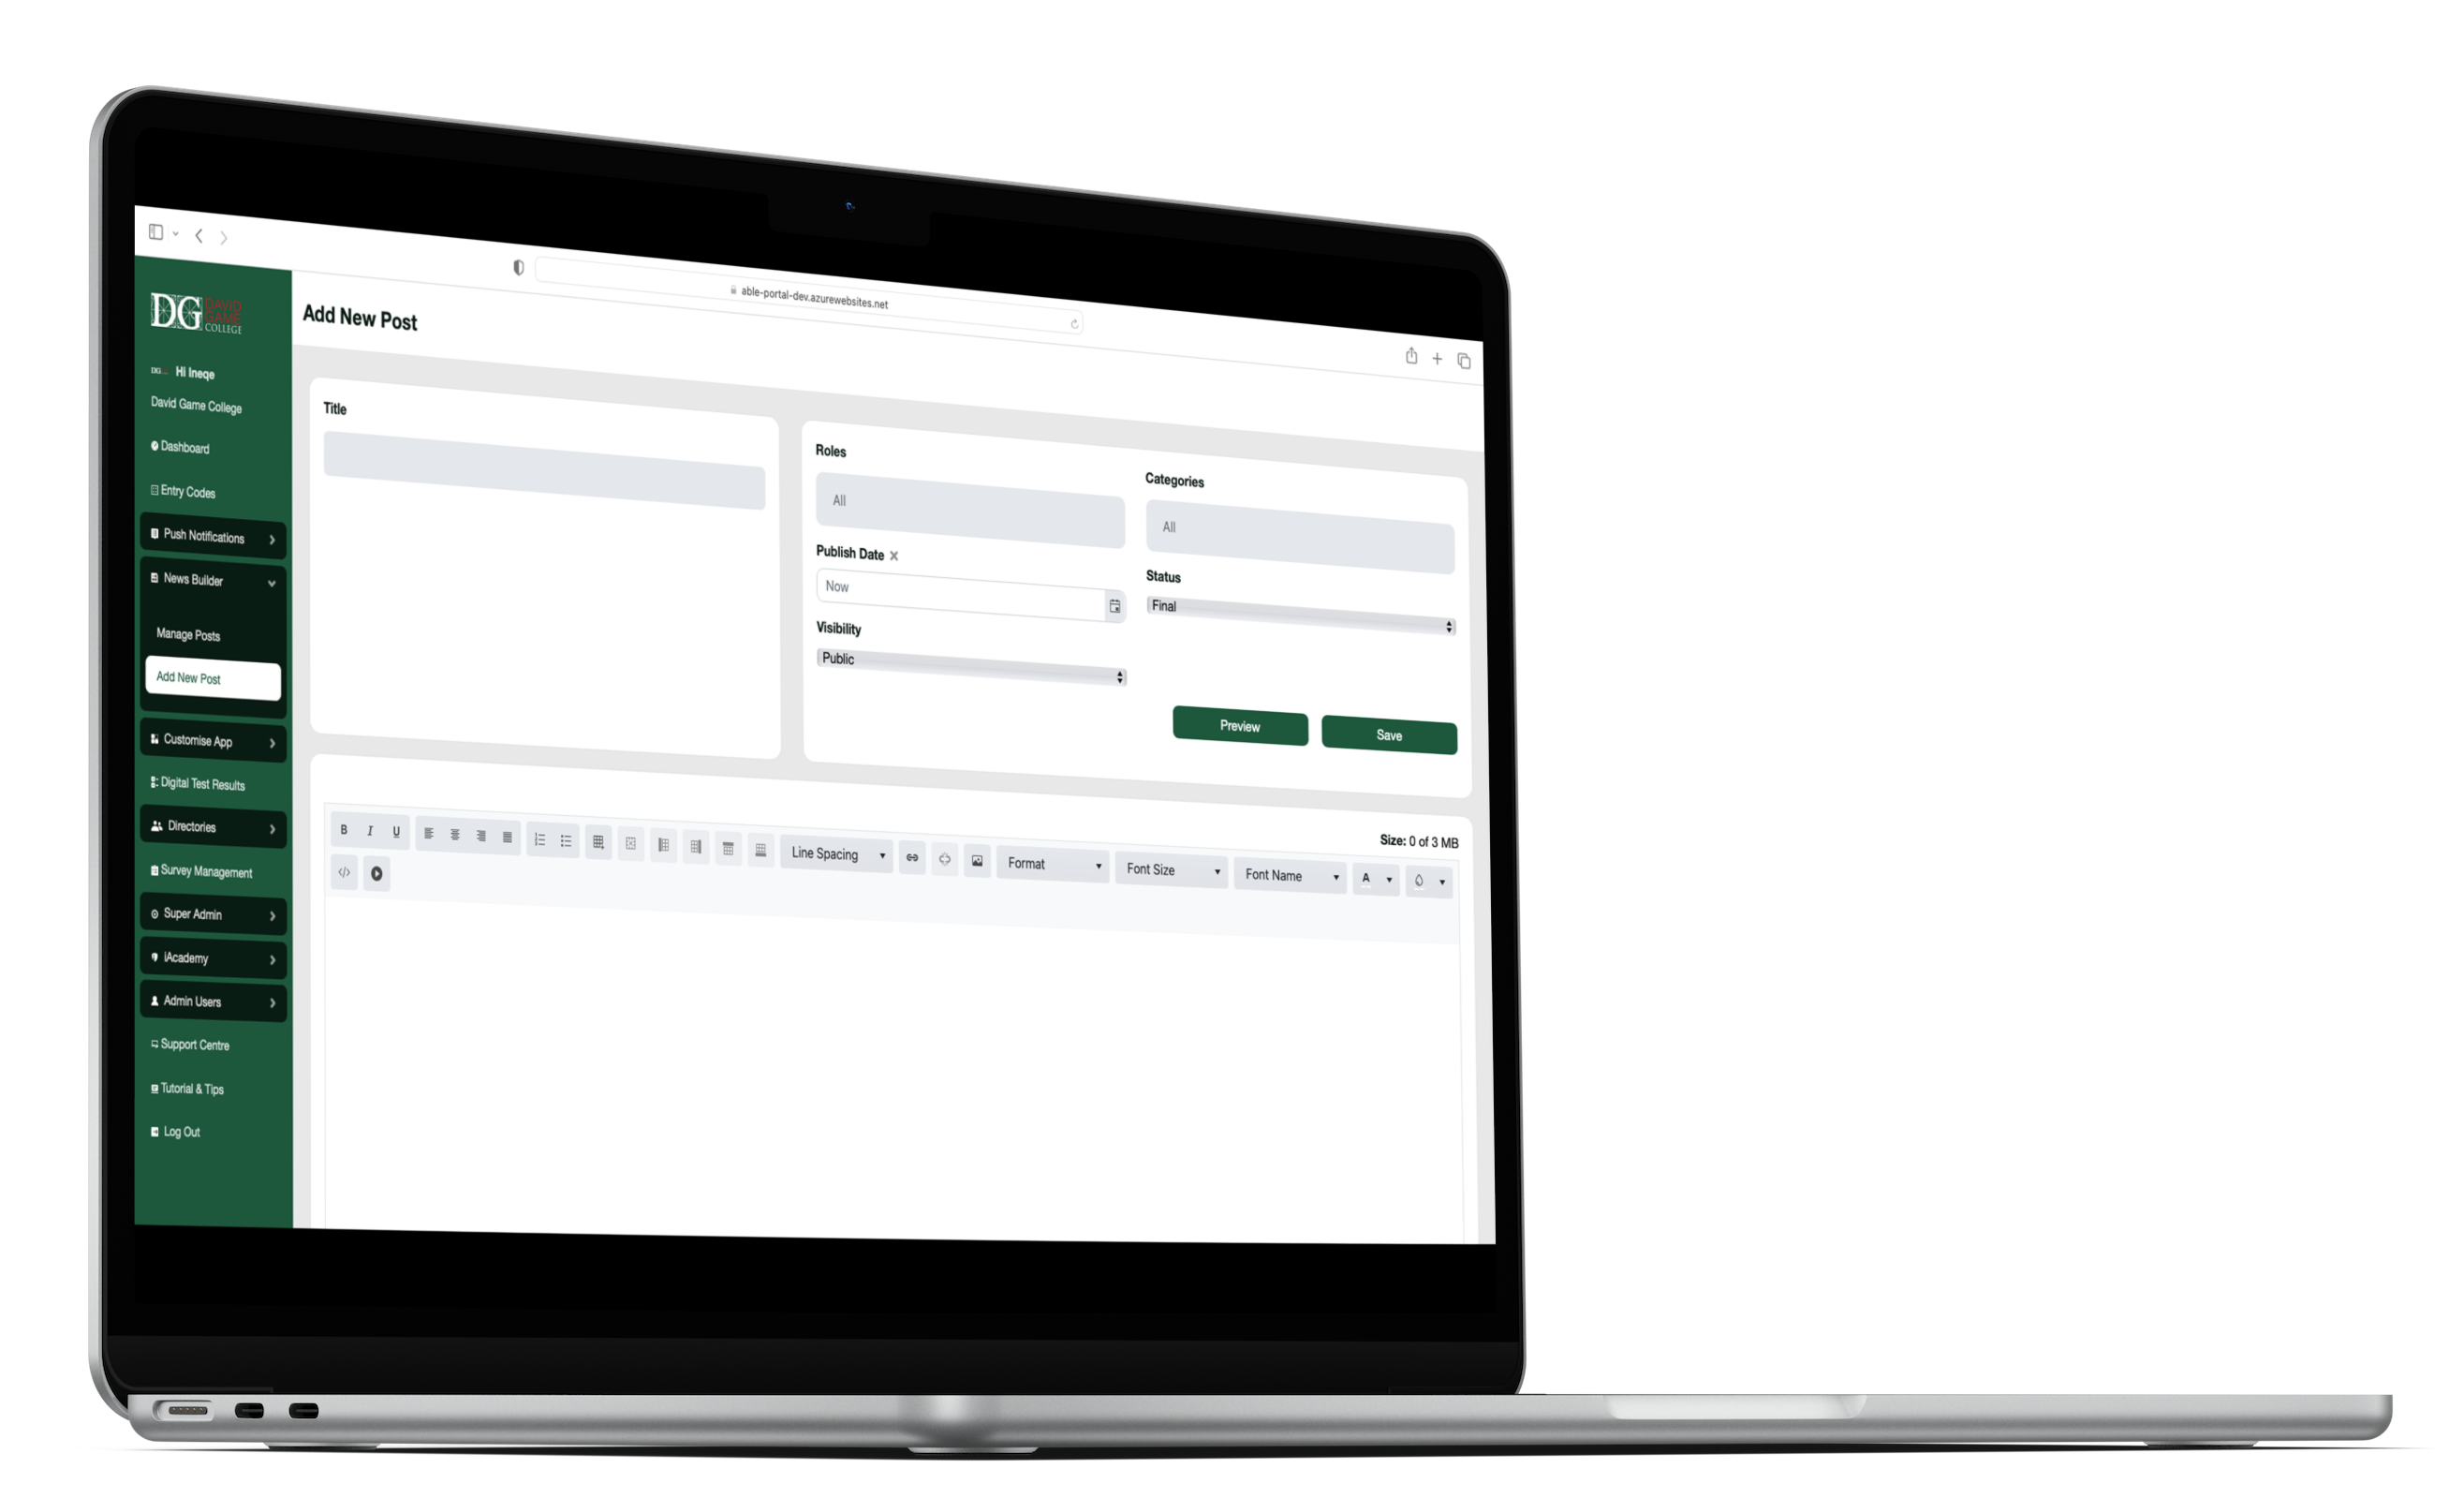
Creating an article is simple. Once logged in to your dashboard, head to News Builder and click Add New Post. You'll then see, as shown below, a box for the Title of your article, visibility and publishing options to the right, and a box that looks like a word document below for the body of your article.
Fill in the boxes as desired with your title and body. You can either type directly into the box for the main article, or copy and paste is you already have the information in another format/place, like drafted in word, or published on a separate webpage/PDF.
Pictures can also be added by either copying and pasting them, or clicking the small image icon next to the format box. If you wish to insert a video, it must first have been uploaded to YouTube or Vimeo. You then need to get the video ID code and paste that in to the dialogue box provided.
Where is my Video ID? To find your video ID, take the ending of the URL link of your video. For example, if the URL is https://www.youtube.com/watch?v=-cUi6XnSMLc the Video ID would be "-cUi6XnSMLc"
If you've any coding knowledge, there is also an option to add some basic code instead to design your article.
Once you've all your desired information in, its time to publish! To do this, we'll go the options on the right hand side of the screen. Roles is where you select which roles/users you'd like to be able to see the article. For example, here 👉🏻 we can see only Adult roles are selected to view a particular article within their App. While here, we can chose when it shall be published by closing in Publish Date, whether the Status is Final or Draft, and whether it should be visible in the App or hidden (if it's not quite ready!).
We can then chose to Preview the article or Save it. Whilst in preview, you'll be able to simulate a number of devices to see how it'll be viewed across users, for example if some are on a phone and others on a tablet.
Edit an Existing Article
To edit, you'll go to New Builder again, but this time click Manage Posts. This will show a list of all posts you've saved so far, whether public or hidden, as well as an option to show draft article with the toggle in the top right hand corner.
From here, select which article you'd like to either Edit or delete. By choosing edit, it will open the same screen as it did for creating an article, and the process is the same. You can add or remove text/images from the body of the article, change the intended audience, and change you article's visibility.
REMEMBER If editing, always remember to click save when you're finished!
Add Links
Adding a clickable Hyperlink in your article is also possible. This is useful if you'd like to subsequently direct your users attention somewhere else online following your article, such as your college calendar, a particular policy on the website, or one of Ineqe's recent safeguarding articles!
To do this, you'll create your article as detailed above, the select the text you wish to use to make the Hyperlink. Once selected, click the link 🔗 button next to the image icon in the top bar of the editing pane. It looks a little like a chain linked together.
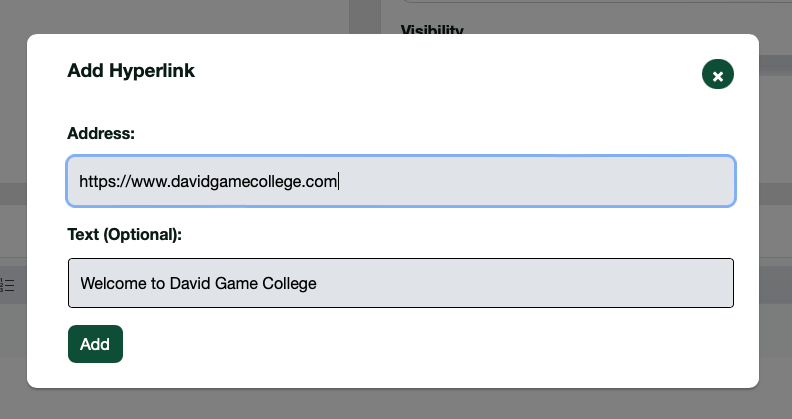
This will open a box entitled Add Hyperlink. Here you simply paste the link of where you want your audience to go, and below add the text you wish the link to display as, just so its not a web address!
A few key things to remember:
📰 If using a Push Notification to direct users to an article, it will only push to those who can view the article in their App, i.e: the selected audiences chosen whilst creating/editing. Whilst it is only those that can see it who will be notified, it will also push to ALL audiences of that article, you're not able to select just one.
📰 There is nothing wrong with have a test! Just as easily as articles are created, they can be deleted and hidden. Give making an article a try, publish it, and take a look in your app! If you don't like it, or its just a test for yourself, it's just as easily to delete or hide it.
📰 When adding a new article, always remember to pull to refresh your app on the home screen to see the changes once you've saved it. Doing this ensures you have the most up to date data in the App.
Still Unsure?
Our Service Engagement team are always here to answer any questions you may have and provide you with any support you need.
💻 Check out our other support articles
📞 Call our team on 02890232060
📩 Email us at support@ineqe.com