
Adding a new News post is easy with the News Builder tool. Send it now, or simply schedule it for later!
The Premier League Safeguarding App 'News Builder' enables the account Admins to create and customise content that can be published directly to specific roles or all users of your App. This can mean it is easy to create and maintain regular club or organisation publications such as newsletters or shareable PDFs, fixtures, or results, as well as publish photographs, videos and more. As your News Builder is an ideal way to distribute your Club communications on a regular basis, adding a new post is simple.
STEP 1 🗞️ In your App Management Portal navigate down to the 'News Builder' menu item
STEP 2 🗞️ Click the option for 'Add new Post'. You'll see a screen that looks like this:
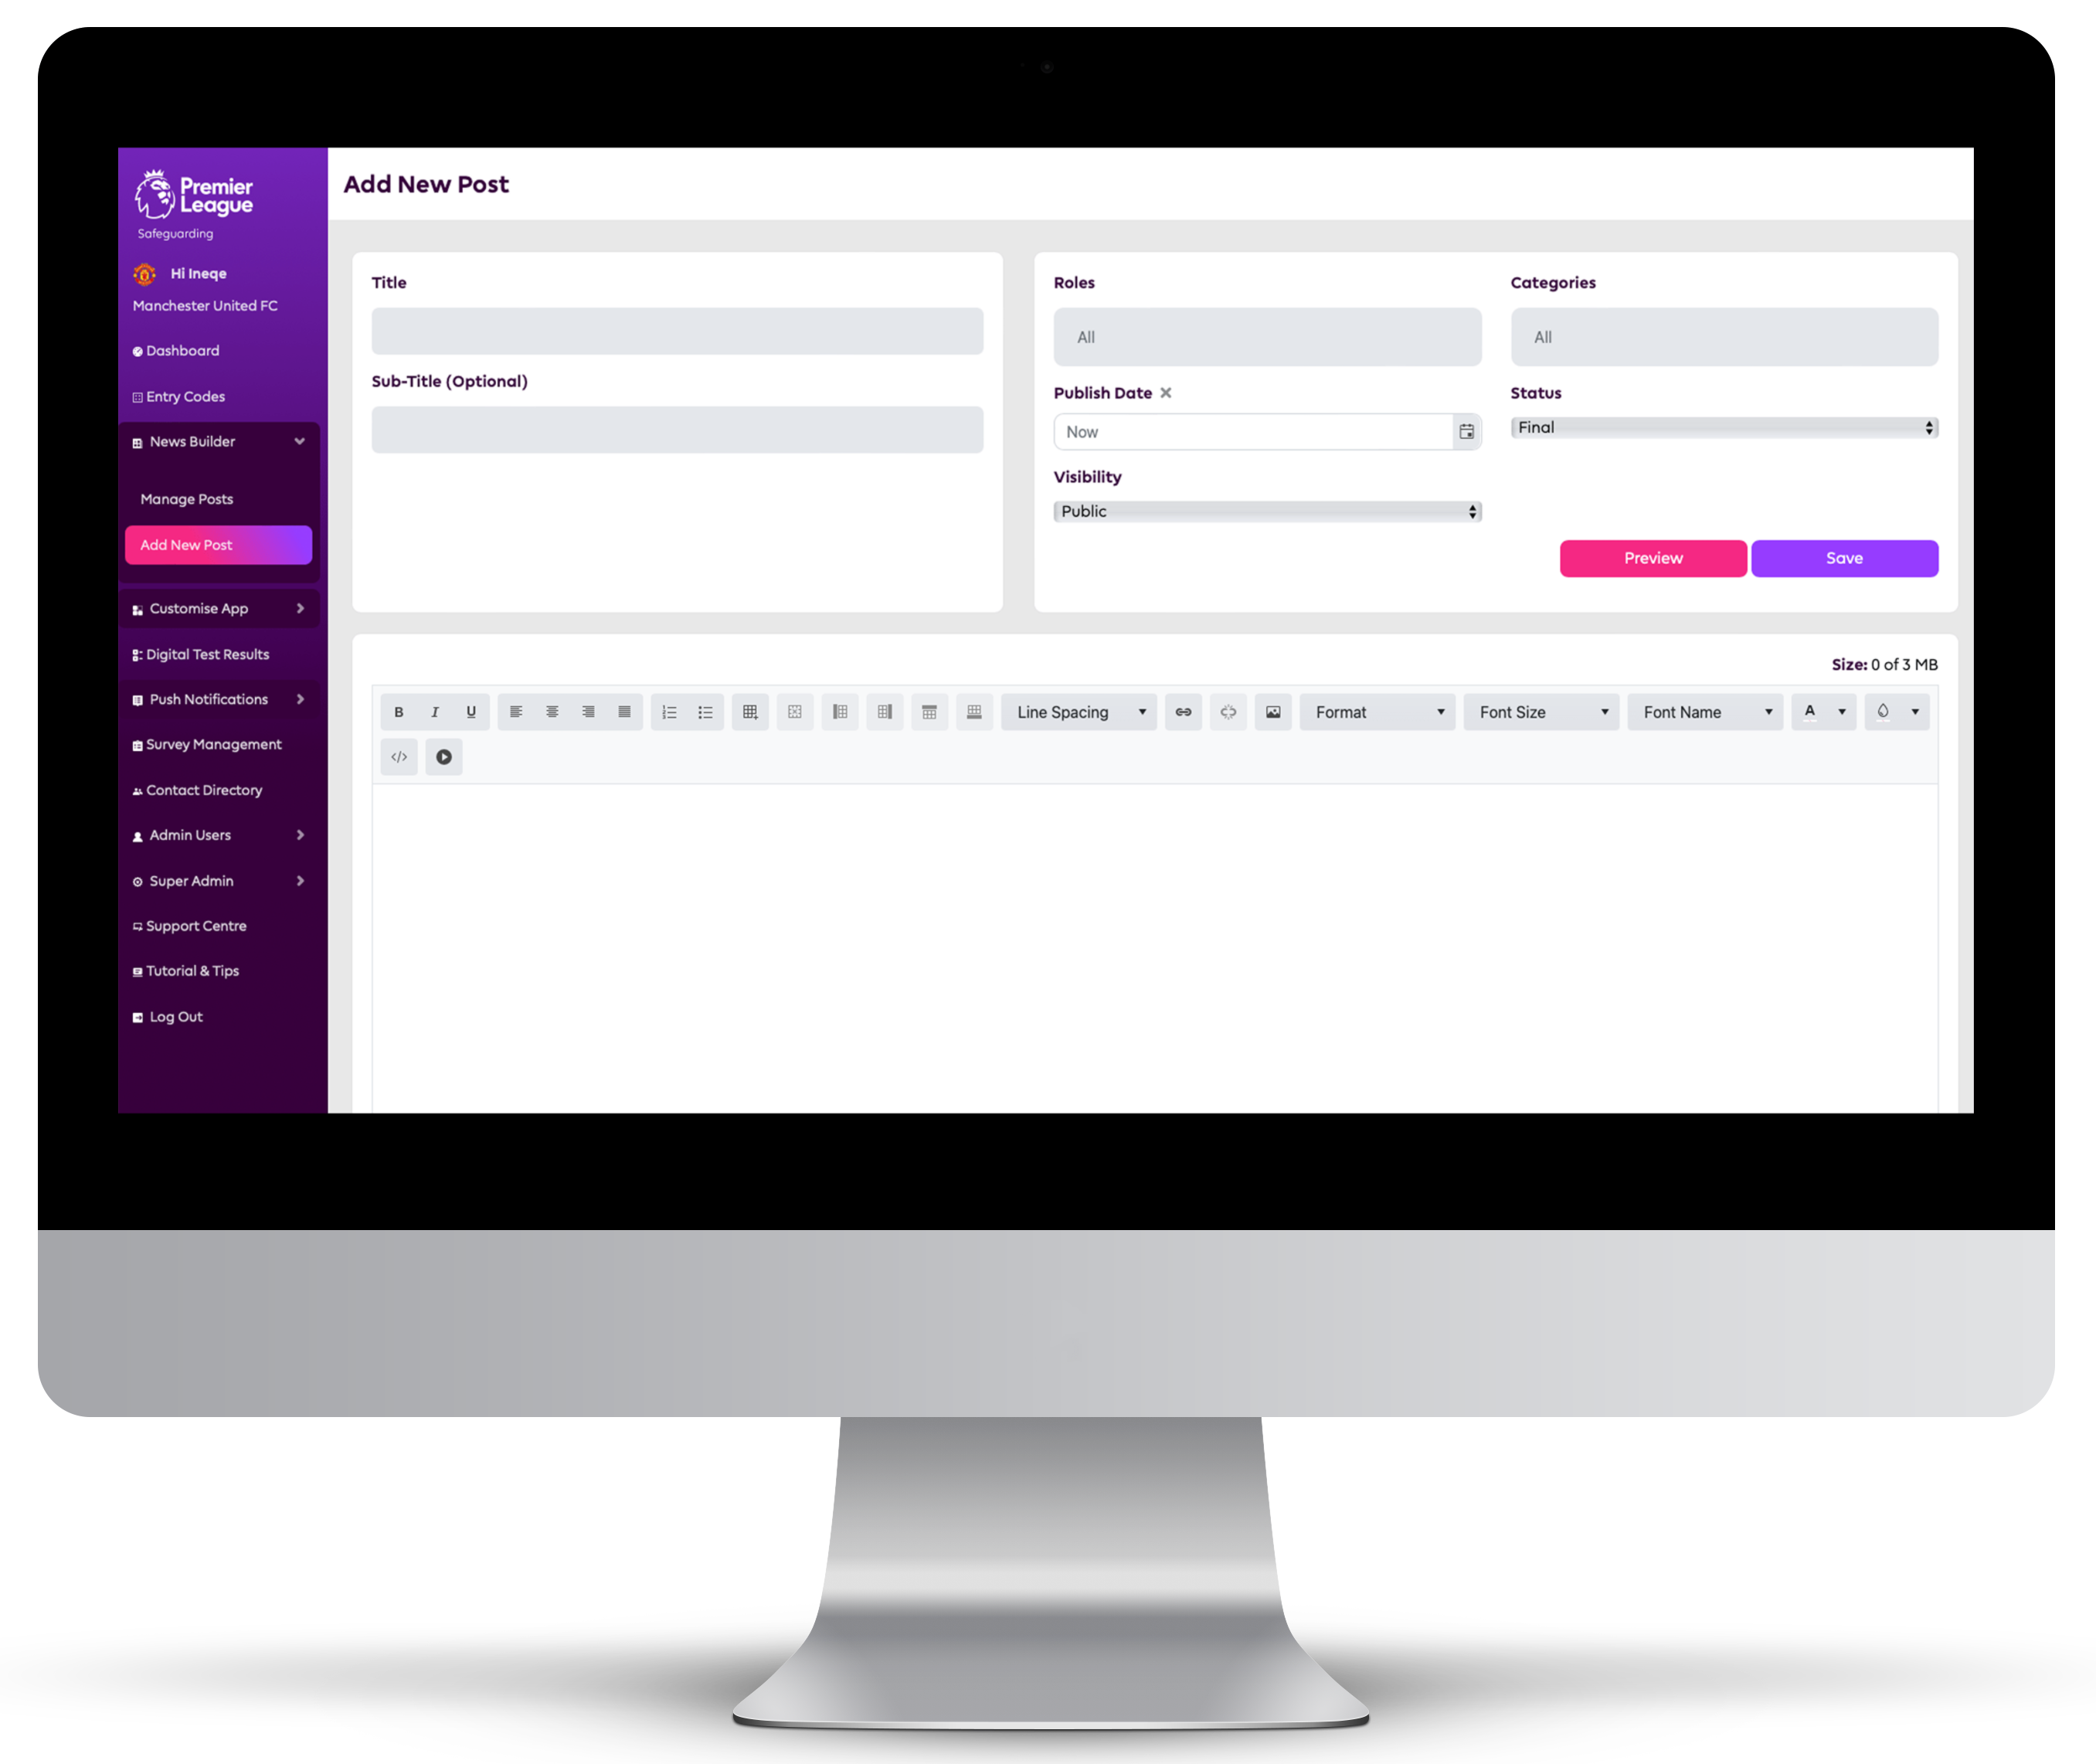 STEP 3 🗞️ Fill in all the fields as desired. Give your post a clear and informative title, subtitle if desired, and write the main body of the message in the large box underneath, just like you would with a word document.
NOTE Your post has a 3MB limit. This includes any media included also, such as pictures
You're able to create your News Builder article in a number of ways. You can either type, copy and paste images and add hyperlinks. Here you can also change the fonts and colours of your test, line spacing and paragraph/heading settings. Currently there is no facility to use your own Club font.
Alternatively, if you have any coding knowledge there is also an integration to enter basic code. Just clicking the "< / >" button in the editing panel. This will open a dialogue box for you to input your code.
If you wish to add a video you can do so by clicking the circle with the triangle in it, next to the coding option. First of all the video must be hosted on Vimeo or Youtube. Then simply visit the place of your video and copy the video ID into the box provided.
Where is my Video ID? To find your video ID, take the ending of the URL link of your video. For example, if the URL is https://www.youtube.com/watch?v=-cUi6XnSMLc the Video ID would be "-cUi6XnSMLc".
STEP 4 🗞️ Once your post is written, you'll need decide who will be able to see it. In the 'Roles' menu, select which roles will be able to view this content.
REMEMBER bear in mind the content of your article/post/newsletter when thinking about the roles it gets sent to. You can send to everyone, or you can chose to send to particular roles if the subject matter is something more delicate.
STEP 5 🗞️ Once you've written you post and picked who it's going to, you can decide to schedule it for later or publish immediately, whether to 'hide' the post or not, if it's a draft post, and which category you'd like it to be published in. These are done in the options to the top right of the editor page.
STEP 6 🗞️Once you've made those decisions, it's time to save your post! Whether this is saved to return to later, or whether its a published post, you're all set.
If you've chose to create a draft or a hidden post, you can go back in and edit them to make them final or public when you're ready in the Manage Post tab on the News builder.
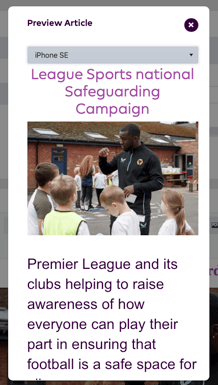
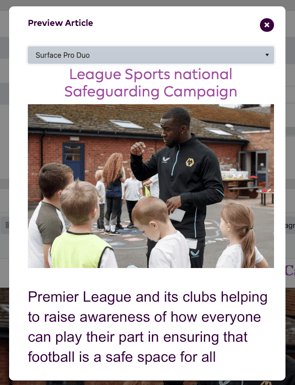
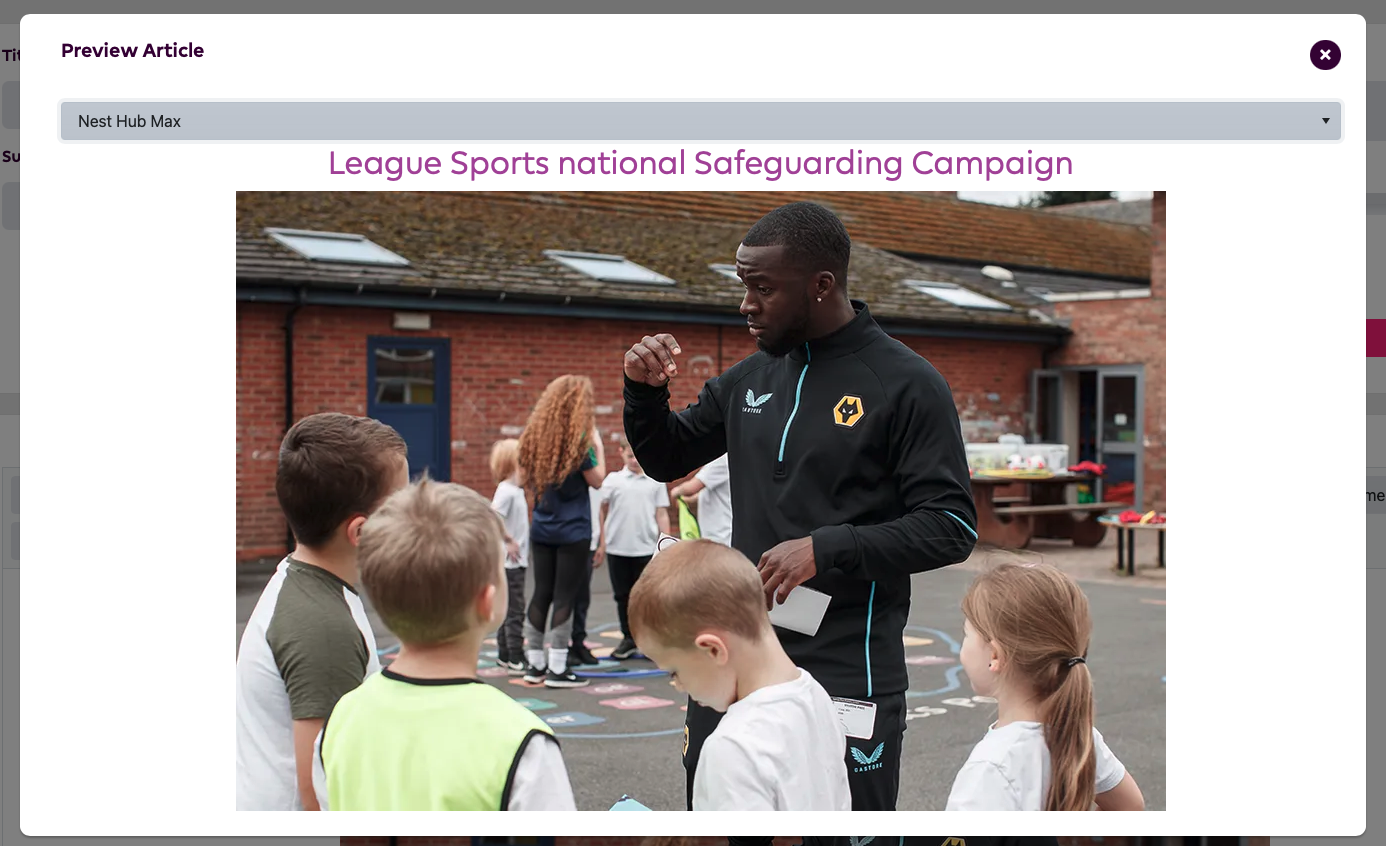
The Preview Feature
Once you've created your article, you can use the 'Preview' feature ahead of publishing it for your users. This will enable you to view how it will display it on multiple devices. For example, here we've chosen to view on iPhone SE, a Surface Pro Duo and a Nest Hub Max.
Still feeling unsure?
Lucky for you, you have the best team in your corner! 👕 Our Service Engagement team are always here to answer any questions you may have and provide you with any support you need.
💻 Check out our other support articles
📞 Call our team on 02890232060
📩 Email us at support@ineqe.com